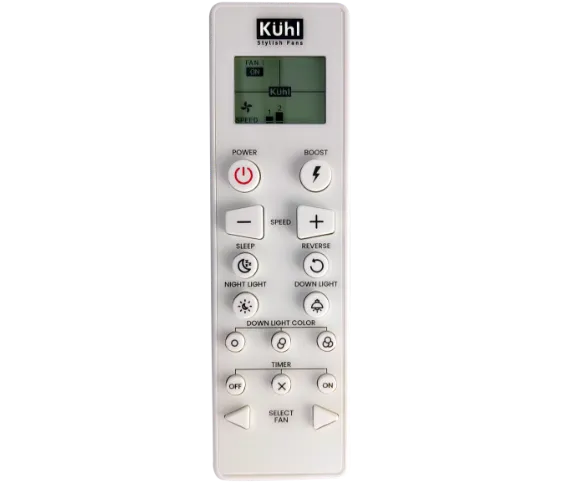
RF LCD Remote controls for ceiling fans can make operating your fan much simpler.
Compatible With Luxus, Platin & Brise Series
The RF LCD Remote support pairing with up to 9 Kuhl Fans including Platin Series, Luxus Series.
Toggle to the desired virtual fan (1 to 9) by pressing on the Remote
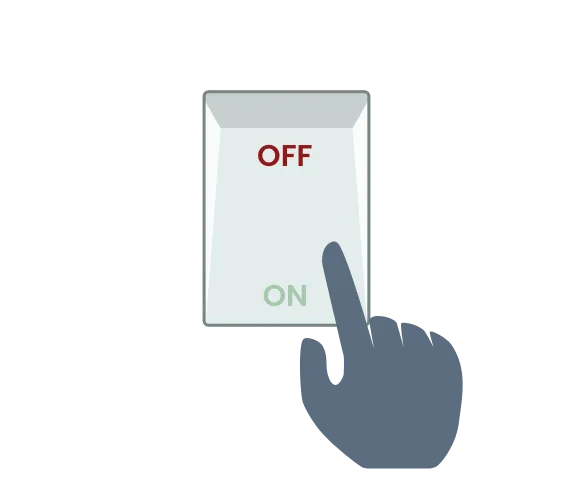
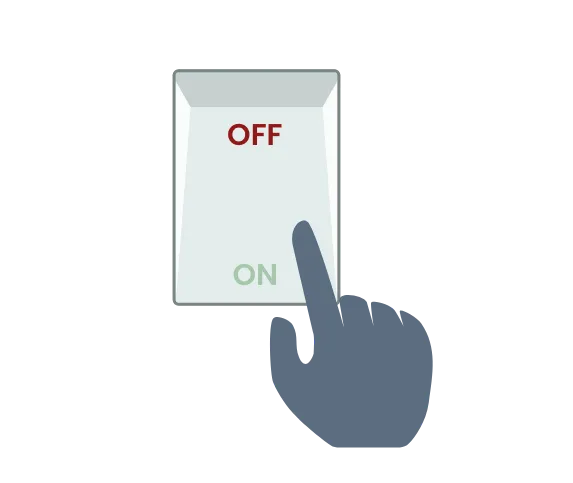
Switch OFF the desired/selected fan which you want to pair, from the Room’s switchboard
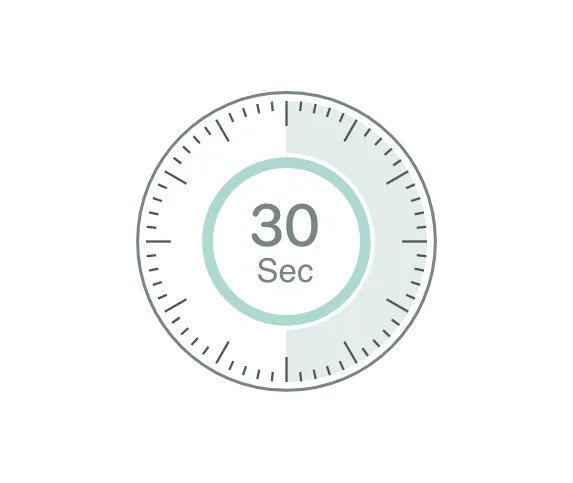
Now, wait for 30 seconds so the connection can be established between the Remote & Fan controller
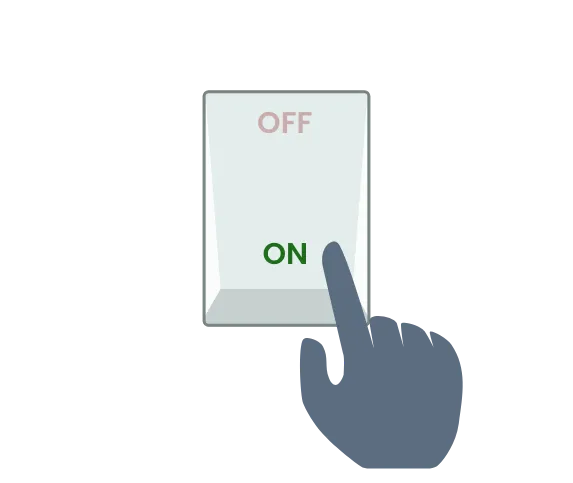
After waiting for 30 seconds, Switch ON the Room’s switchboard of the desired/selected fan
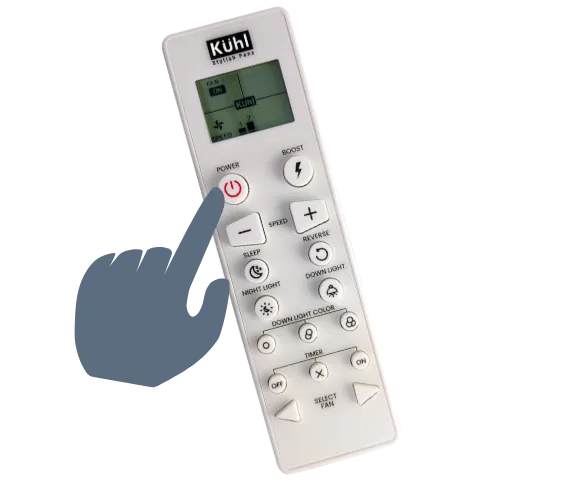
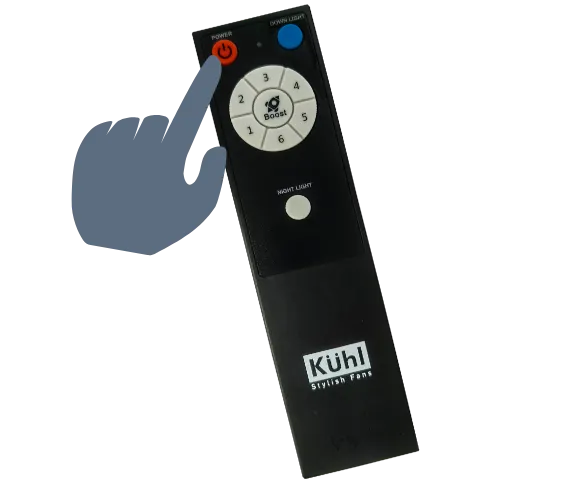
Now, Press & hold the “Power” button on the remote and hold it for 10 seconds
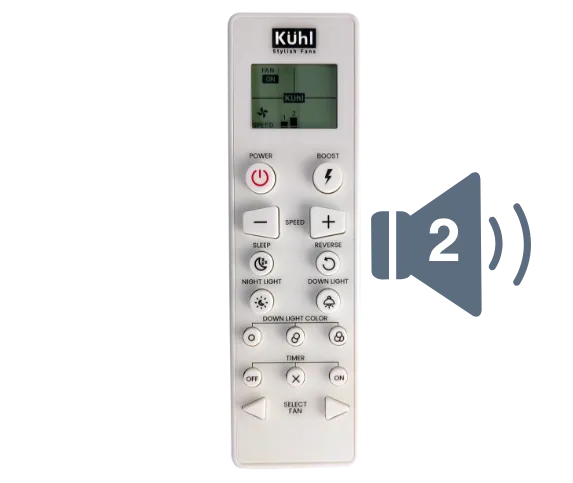
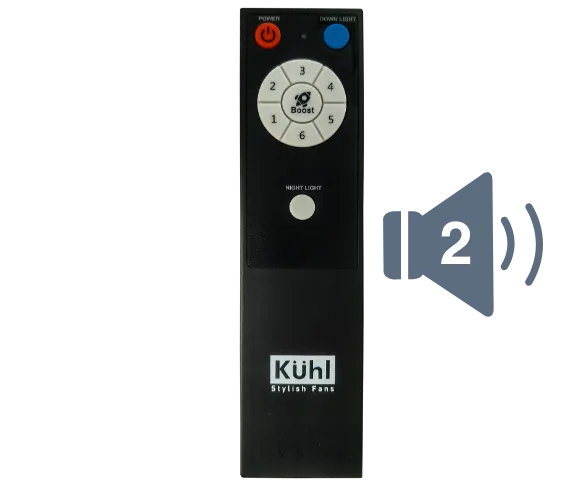
Wait to hear two beeps which indicate successful pairing with the remote
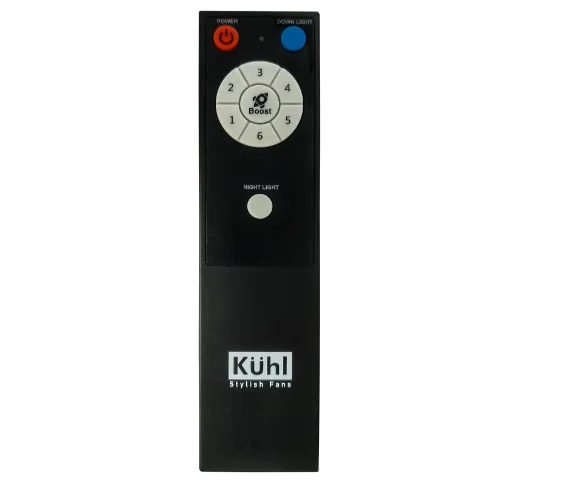
RF Remote Controls For Ceiling Fans Can Make Operating Your Fan Much Simpler
Compatible With Luxus, Platin & Brise Series
This RF remote can be paired with only one fan at a time
Switch OFF the desired/selected fan which you want to pair, from the Room’s switchboard
Now, wait for 30 seconds so the connection can be established between the Remote & Fan controller
Now, Press & hold the “Power” button on the remote and hold it for 10 seconds
Wait to hear two beeps which indicate successful pairing with the remote
Kuhl App Controls For Ceiling Fans Can Make Operating Your Fan Much Simpler.
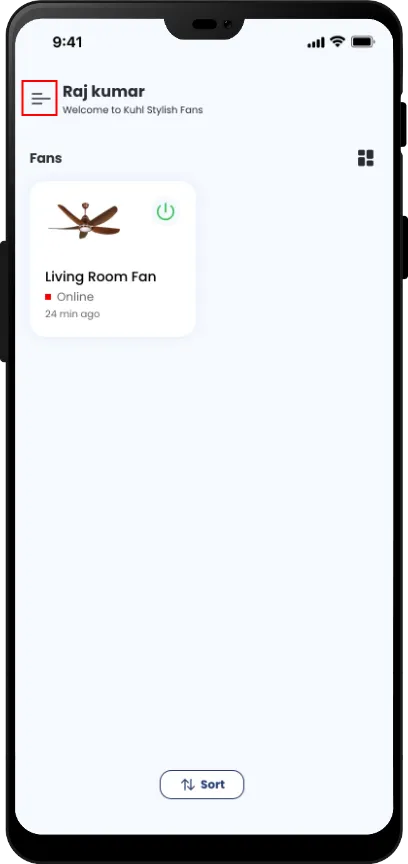
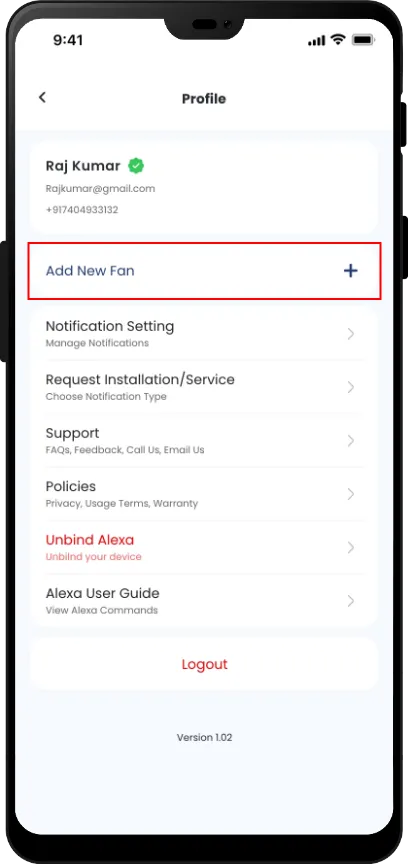
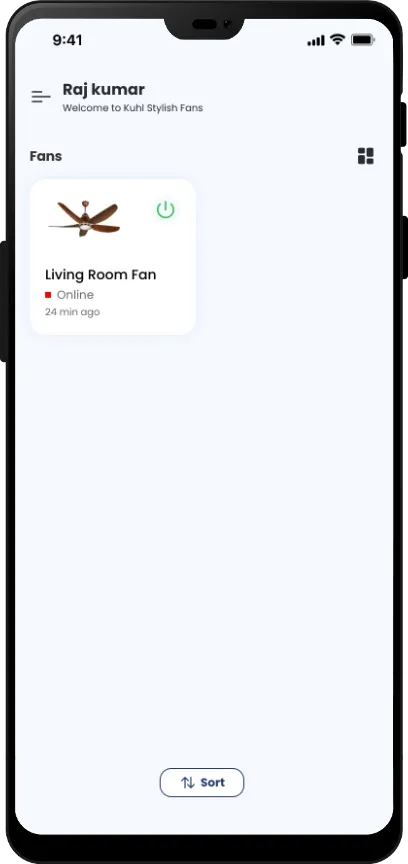
Open the Kuhl Fan application, where you get the dashboard page. Click on the menu button at the top left corner then you will get the profile page.
In the profile page click on Add New Fan field, then you will get the pairing mode page.
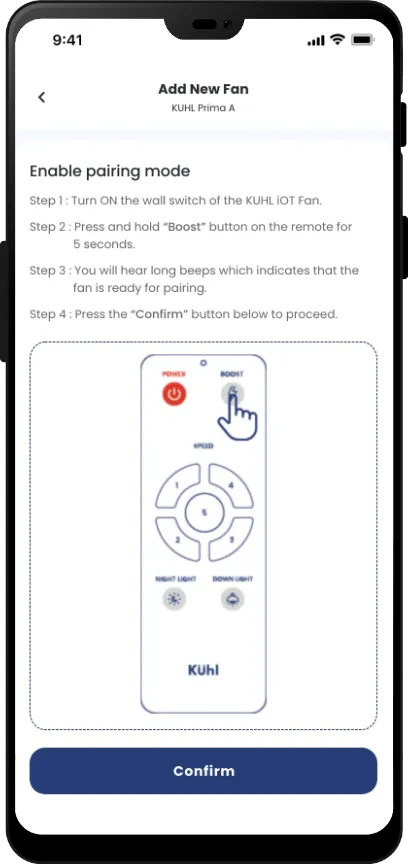
In paring mode page, given step by step how to enable pairing mode of the fan with physical remote. Once your fan is ready to pair then click on the confirm button.
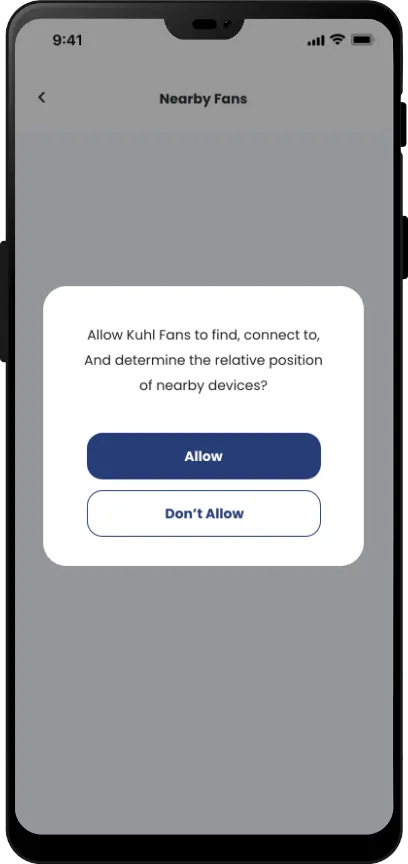
Before getting the available fan list it will ask for location permission then you have to click on allow button.
Before getting the available fan list it will ask for location permission then you have to click on allow button.
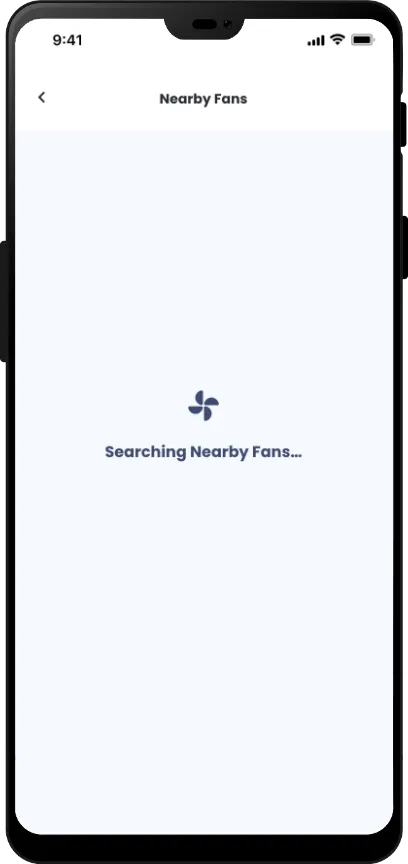
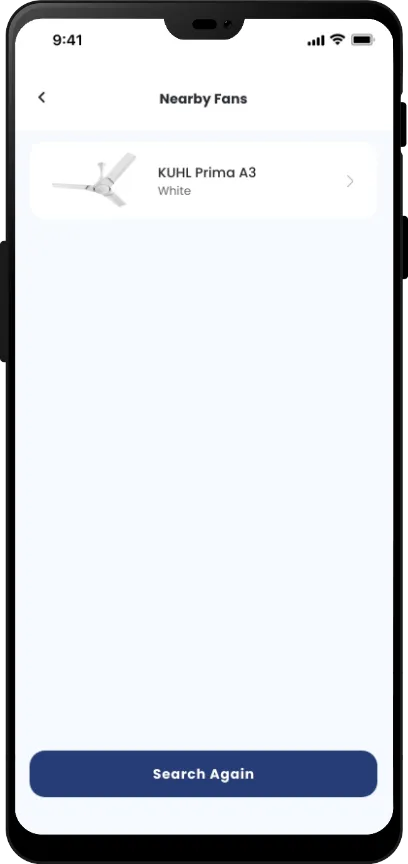
When you get the fan list click on the fan field
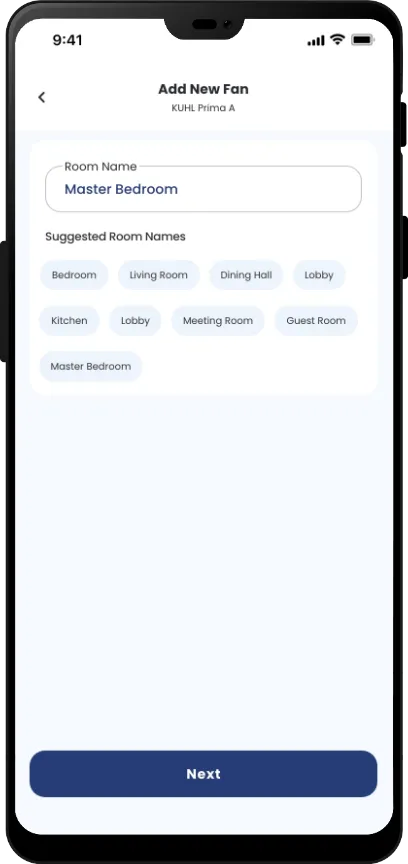
Then choose name for the given fan, you can either select from the suggested list or you can set by your own. Then click on next the button
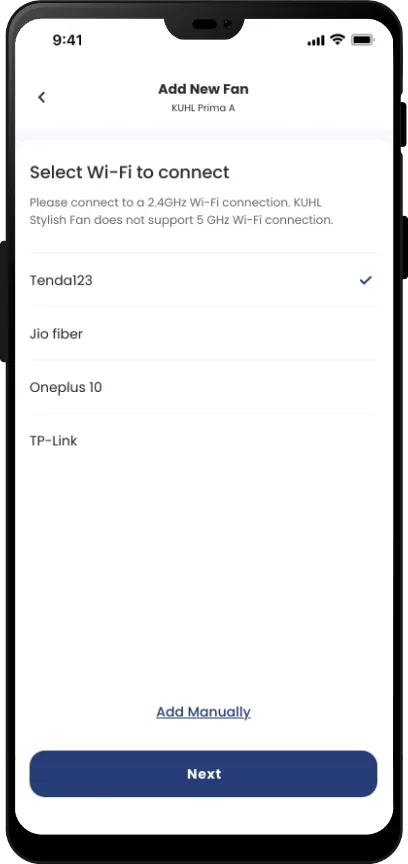
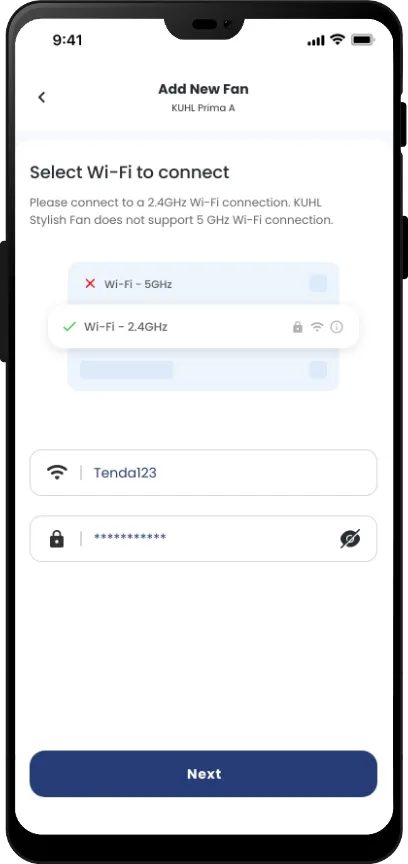
In Wi-Fi page you will get the Wi-Fi list available near by you. Then select your Wi-Fi from the given list, and then click on next button where you have to enter the password
After entering the correct password click on the next button, then it will took about 10 seconds to connect the fan with Wi-Fi and the it will let you to the home page where you will see your fan.
Here at the dashboard page you will see all the fans that has been connected with your account